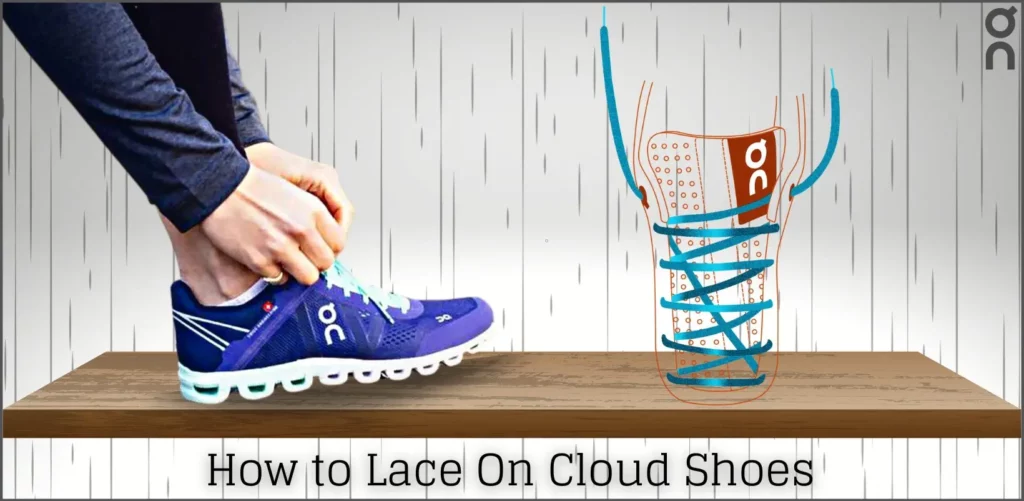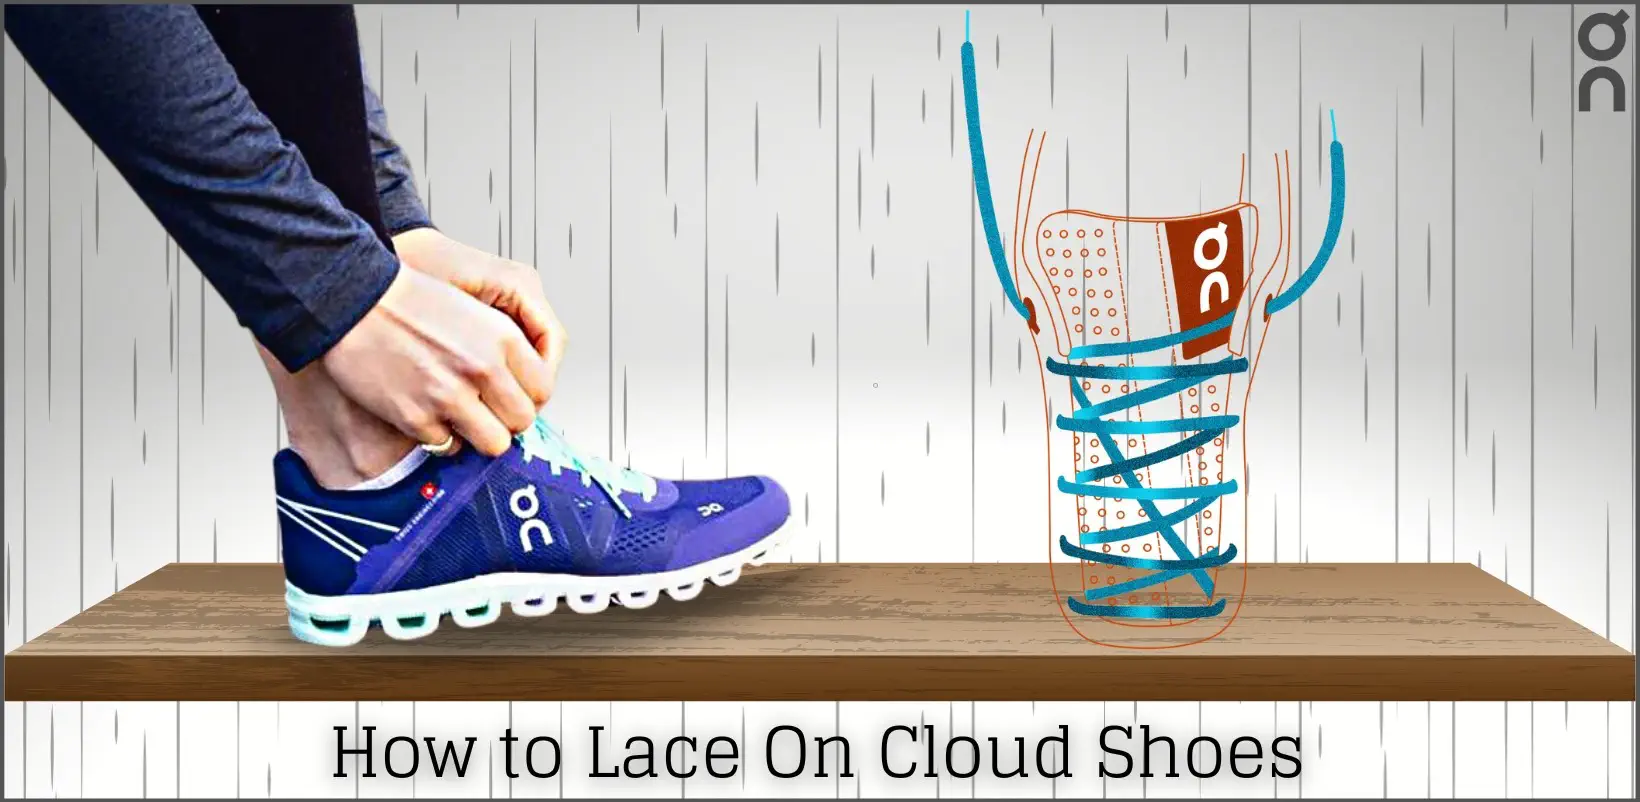
Every foot is different. So, there is no universal shoe-lacing style for everyone. People think they can tie shoelaces just by moving them from one point to another. Actually, it’s a misconception. Lacing shoes should be different depending on the purpose. You can’t lace a running shoe the same way you lace a gym shoe.
On Clouds are mostly running shoes. There are different lacing styles for shoes. In this article, I have compiled five lacing techniques for On Cloud shoes. Let’s get started.
6 Techniques of Lacing On Cloud Shoes
➤ Butterfly Lacing/Loop lacing
Advantages:
- Leaves room for foot growth
- Provides a snug fit and stability for all terrains.
Recommended for: Cloudsurfer shoes
This is an excellent lacing technique for On running shoes. Butterfly lacing will make sure you have a snug fit so you get the desired stability for running in all sorts of terrains. The advantage of this technique is it will leave enough room for foot growth. So, this technique is ideal for growing kids’ shoes. Let’s see how you can tie On Cloud shoes following the butterfly/loop lacing technique.
Instructions:
- Apply the standard cross method and reach the next-to-last eyelet on both sides of the shoe.
- To create a little loop on either side, thread the lace through the top eyelet.
- Thread and pull the opposing lace firmly through each loop.
- Finally, tie up the laces.
➤ Diagonal Lacing
Advantages:
- Allows natural motion of the foot
- More space for the toes.
Recommended for: Cloudflow shoes.
The diagonal lacing technique frees up space for your toes. This is also called the ‘double helix’ method. This technique is ideal for shoes with a great number of eyelets such as the Cloudflow.
Instructions:
- Take a diagonal route with the shoe laces.
- Run the lace diagonally down to the lowest eyelet above your big toe after starting with one end in the top eyelet and leaving enough lace to tie your shoe.
- Thread the shoelace through the bottom eyelet close to your big toe and the opposite bottom eyelet.
- The lace should then be crossed diagonally to the following open eyelet. After that, thread it directly over to the other side and through the eyelet there.
- Until you reach the last eyelet, keep threading the shoelace diagonally through the next open eyelet and straight across to the subsequent eyelet. At the top of the shoe, last, fasten the laces together.
➤ Cross-over Lacing
Advantages:
- Comfortable and leaves enough breathing space for the feet.
- Simple to follow this technique.
Recommended for: Cloud X shoes.
The cross-over lacing technique is probably the simplest and one of the oldest lacing styles. Because the cross-over lacings take place in the space between the sides of the shoe and aren’t forced on the top of the foot, it is really comfortable.
Instructions:
- Starting from the inside, thread the laces straight across, and out through the bottom eyelets.
- Cross the ends at each eyelet pair, run under the sides, and exit through the following higher set of eyelets. Continue until the lacing is complete.
➤ Skip Lacing
Advantages:
- Best for relieving top-of-foot injury and pain.
- Simple to follow.
Recommended for: Cloudflyer shoes.
If the top of your feet is pressed tightly against the shoe, you are probably lacing your shoe wrongly. You need to change the lacing technique to get relief from the discomfort, and pain and reduce the risk of injuries. Skip lacing provides a simple solution to such problems.
Instructions:
- Lace your shoes using the traditional cross technique all the way to the third eyelet on either side.
- For the two following eyelets, instead of continuing the cross approach, slide each end of the lace straight up the lacing system.
- Continue using the traditional cross approach to the top after you have reached the fifth eyelet.
- Tie the laces after you’ve gotten to the top.
Tip: skip the eyelets where you need some extra space.
➤ Extra Eyelet Lacing
Advantages: Provides a snug fit to ensure your feet don’t slip.
Recommended for: Almost all On Cloud shoes have an extra eyelet.
This lacing technique is ideal for you if your toes slip out often. It’s pretty simple to follow this technique. Just tie your shoe laces again after completing the primary lacing.
➤ Splay Lacing
Advantages:
- Works well for high arches.
- Provides good stability.
Recommended for: If you have high arches, you can basically do this lacing on any On Cloud shoes.
This is the best lacing technique for high arches. It’s a bit difficult to follow this technique. But if you have high arches, there are no better alternatives to this technique.
Instructions:
- Make two halves of the laces.
- Take one end of the lace and “bar lace” by running straight across the top of the shoelace system, starting towards the bottom.
- Then, on the same side of the lacing system, slide the lace straight up to the next eyelet.
- Follow bar lacing for other eyelets as well.
- Move the opposite end of the shoelace up to the next accessible set of eyelets on the same side of the lacing system, skipping the set of eyelets you just used.
- Bar lace that side again, and then continue lacing in an alternate pattern until you reach the top of the shoes.
- Finally, tie the laces.
How to Tighten On Cloud Speed Laces?
The On Cloud shoes have to speed laces which allow easy put on and put off. Cloud 50|50, Cloud 70|30, Cloud Terry, Cloud Tip and Cloud Waterproof have speed laces. Speed laces allow you to wear an On running shoe within seconds. If you have large feet, the shoes will fit nicely. But for medium wide or a bit small fit, the shoes may feel a bit loose.
Here’s how you can tighten the speed laces on On Cloud shoes.
At the top end of the laces, there is a knot. You just need to pull it a bit, take it under the lace and make a loop so it doesn’t get loosened up. Now, adjust the laces so the fit is distributed evenly.
That’s it. Now, you should have a snug-fitting shoe even if you have small or medium feet. Remember to pull the knot until you feel tight enough but don’t pull it so much that it tears apart.
You can also check the article of On Running shoes official website on how to lace On Cloud shoes.


How can I order extra ON laces?
Please check ON’s official website.
i am having tons of trouble lacing up my shoes: the shoe laces do not fit through the holes in my shoes. I ordered special laces for the “slip on” effect and cannot fit the tip of the lace through the holes. HELP!! thank you