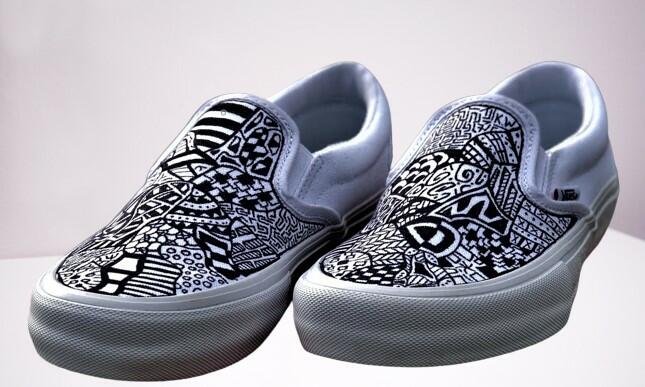
Need to customize your vans, but you are getting no clue? Yes, by reading this article, you can fulfill your desire just by five effective ways of customizing vans shoes. You need to grab the proper process that suits you most! Collect necessary materials as mentioned. And finally, follow the instructions step by step. Let’s move towards the actions.
Buy Customized Vans from Shop
If you are a super lazy guy and want to know the easiest way to customize your vans, this process looks for you! Go to the vans shop website and customize according to your choice. You can find the nearest vans store from the official website. Then order it and collect it. You have read it right, and it’s that easy !!!
Paint
This is one of the widely used vans customizing techniques. You can add your drawing skills here to modify your vans. At first, you can draw the design in a paper. While drawing, you can use basic bullet journal icons to draw attention to key concepts related to modifying your Vans. If you don’t know how to draw bullet journal icons, here is an article on bullet journal drawings.
Now let’s see what we will require to paint Vans.
Necessary Materials :
- Pencil and Paper
- Paint pen / Paint marker (Optional)
- Spray paint (Optional)
- Primer spray (Optional)
- Color (Acrylic / Fabric / Oil)
- Color brush (1 small size, one medium size)
- Color palette
- Water
- Sticky Tapes (Sellotape / Scotch Tape)
- A pair of Vans
Procedure :
- Firstly, take the shoes one by one and make a primary outline of the design using the pencil. If you are very skilled in painting and don’t need outlines, then you can skip this step.
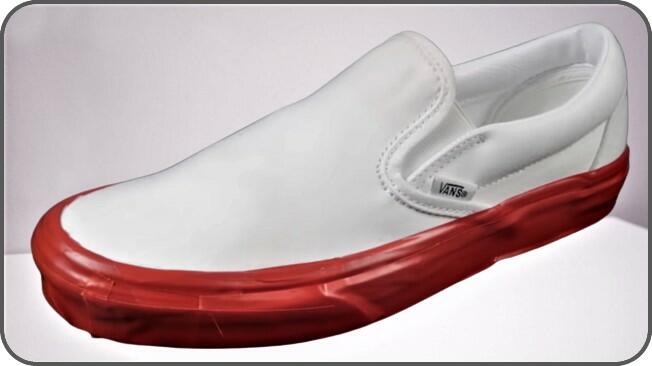
- Then, cover the vans with sticky tapes on the areas you don’t want to color. Mostly, people cover the outsole area, but you can cover it as you wish. Remove shoelaces. Spray the primer on both shoes to make their surface smoother.
- After that, take the painting colors on the color palette. You don’t need to take all the colors, just take the ones you will use. You can use anyone from acrylic, fabric, or oil color. All these color formats are good for vans shoes. Because it dries early and the vans hold the true color properly.
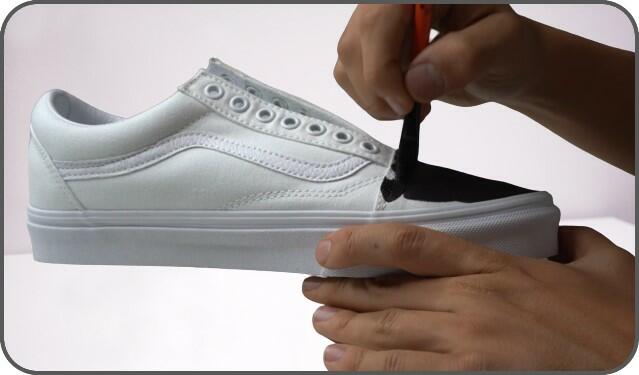
- Now take the color brush. Dip the brush in the water slightly. You can use any sized brush. But it’s better to use one medium and one small size brush. Take colors from the color palette on the medium size brush and paint the shoe according to the outline. If you haven’t used the outline, then paint with your creativity. You can take ideas from the internet. Excellent designs are available.
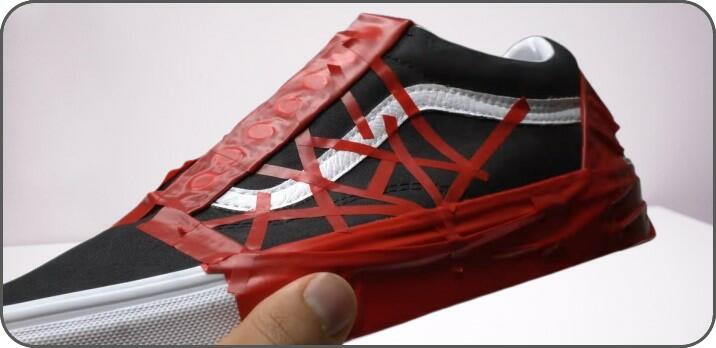
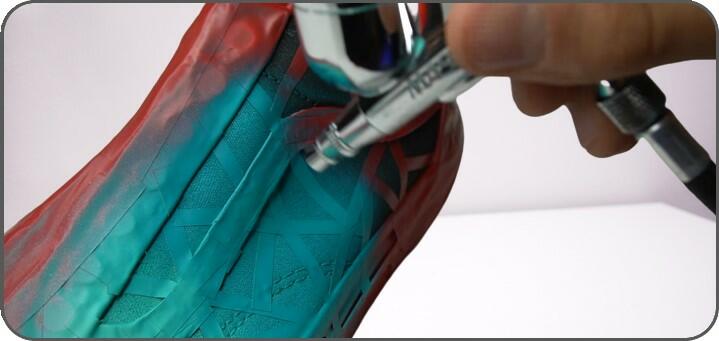
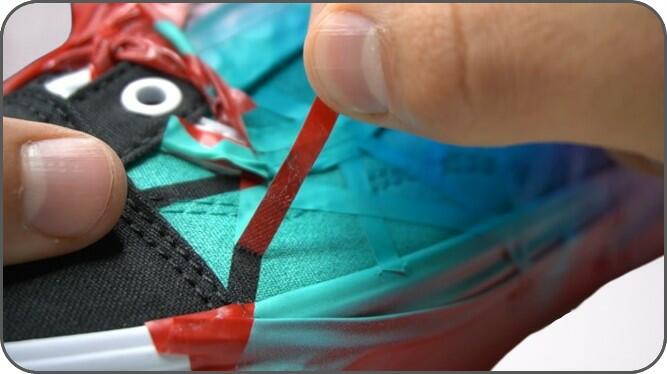
- You can use a color spray in place of a color brush. Furthermore, you can use both. Paint a few areas with a brush.
- Then add sticky stapes on the areas you don’t want to spray. Then add color spray.
- After you have painted the main body, then use the small size brush to paint the sharp areas of the shoe. You can use a paint pen or paint marker also.

- Finally, keep the shoe under sunlight to dry. After it has dried, remove the tapes, and your vans are ready to use.
Precaution :
- Put the sticky tapes carefully so that they don’t come out while painting or spraying.
- Don’t keep the shoe under scorching sunlight. Otherwise, shoes will get discolored. Rather keep it under optimum sunlight.
Hydro Dip
Hydro dipping is a special way to customize Vans shoes. The main theme of this process is to dip the shoe in the colored water. That’s why it is called hydro dipping. In place of colored water, you can also use a hydrographic film. Let’s go into the details.
Necessary Materials:
- Gloves
- Acrylic Spray paint
- Hydrographic film (If you do not use spray paint)
- Primer Spray (Optional)
- Water container
- A pair of Vans (Obviously !!!)
Procedure:
- Firstly, take a good amount of water in a water container. The container’s size and amount of water should be large enough to dip the shoes.
- Take the van’s shoes. Remove laces, insoles and put sticky tapes around the body in the areas you don’t want to add color.
- Then spray the spray paint on the water. You can use any combination of colors with any density. You should use at least two colors, but three is standard. After spraying, you can mix the color with a stick to make a unique design.
- In place of spray paint, you can also use hydrographic films. These films are a special type of material made with polyvinyl alcohol.
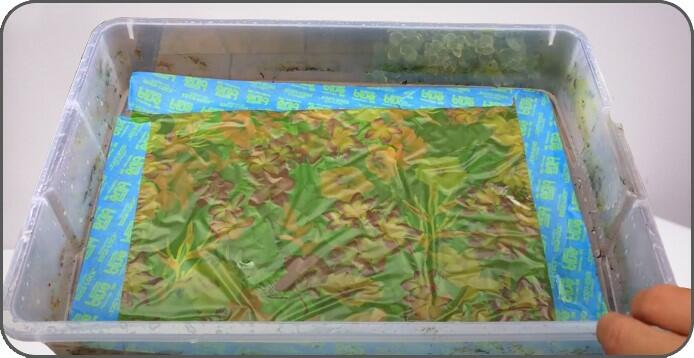
Just keep the film horizontally on the surface of the water for a few minutes. After a while, the film will get hydrated and ready to use as a coating material over Vans.
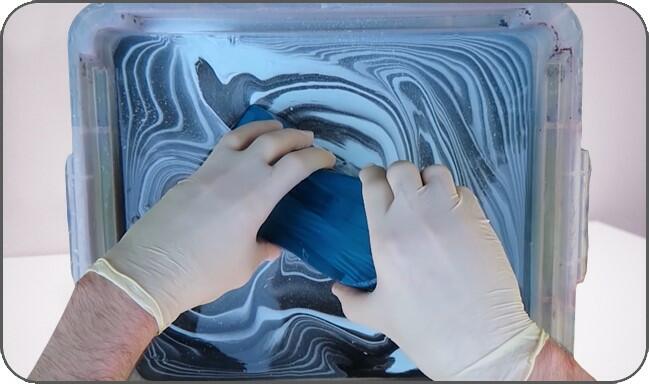
- Now it’s time to dip the shoe. Take Vans shoes one by one. Spray primal to get a smooth surface. Wear gloves.
- Carefully hold the outsole of the Vans and dip it into colored water or on hydrographic film. Start dipping from toe to heel.
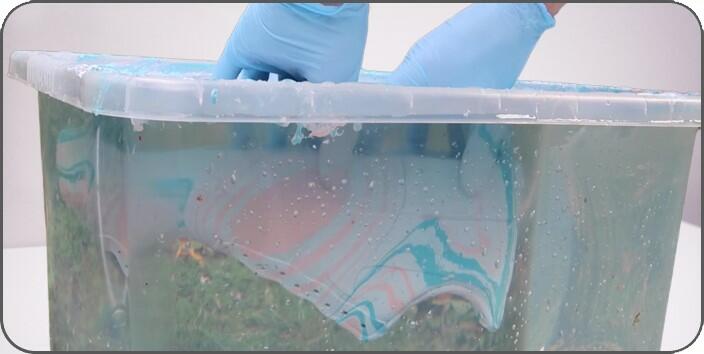
- Keep the shoe 5-10 seconds in completely submerged condition.
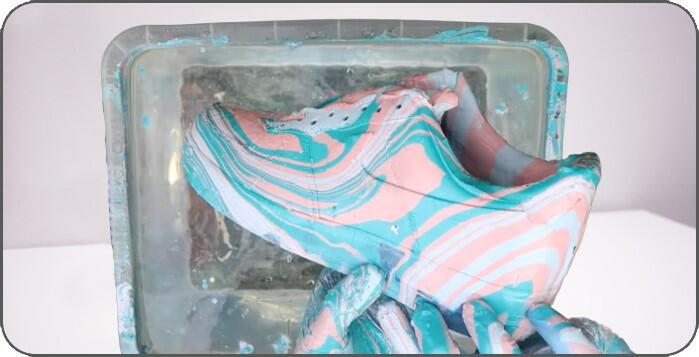
- Then stir the water surface gently so that the colors over it don’t get stuck with the shoe while taking it out from the water. After that, take out the shoe slowly from the water.
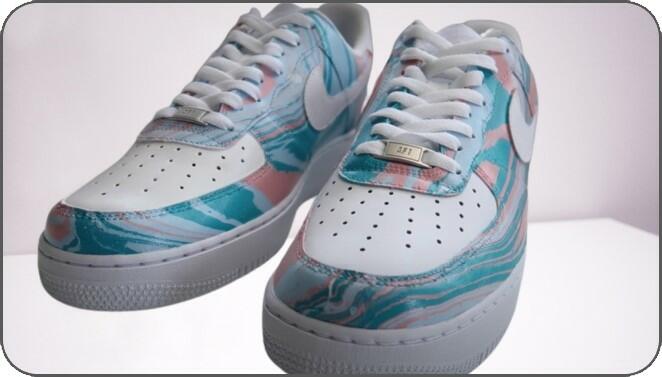
- Remove the sticky tapes. After the shoes dry, they are ready to use.
Precaution:
- Measure the size of the hydrographic film properly so that it covers the whole body of the shoe.
- Do not hurry while dipping in and out of the shoes.
- Place the sticky tapes carefully so that they don’t get loose while dipping in and out of the water.
Glitter
Using glitter is another amazing way of Vans shoe customization. If you need more shiny and sparkling shoes, then you can use this approach. The key to this approach is mixing and layering.
Necessary Materials:
- Acrylic paint
- Fine-grain glitter
- Glue (Recommended: Mod Podge)
- Paint brush
- Sticky tapes
- Glitter and glue mixing cup
Procedure:
- Tape the shoes on the areas you don’t want to add glitters.
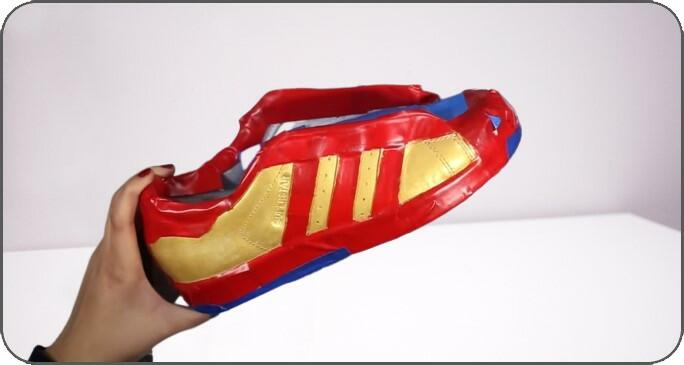
- Add acrylic color to the coloring areas. Use the same color as the glitters you are going to use. This is done so that if there is any cracking or peeling, this layer will work as a nice backup. Apply the color until fully pigmented.
- Mix the glue (Mod Podge) with glitter. Add more glitter than glue.
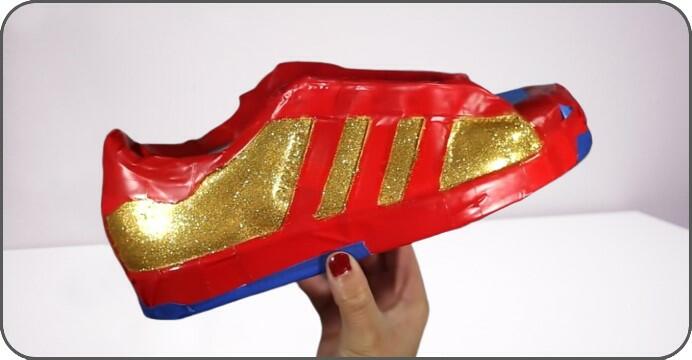
- Now layer the glue-glitter mixture on the shoes with a paint brush. Layer slowly until all the areas are filled with glitter.
- Put raw glitter over the shoes and slightly shake the shoes upside down so that loose glitters fall apart.
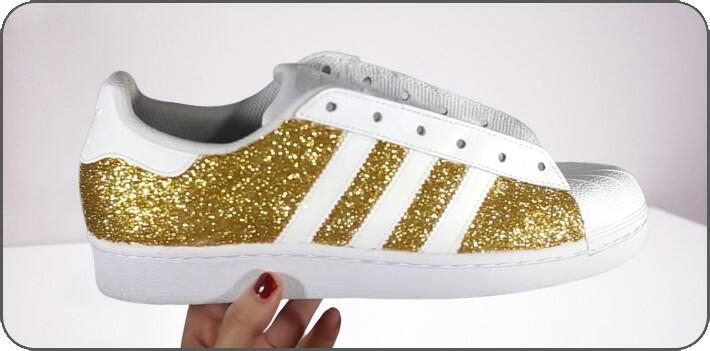
- Finally, take out the tapes and wait for the shoes to dry.
Precaution :
- Don’t hurry to layer the color, glue, or glitter. Remember, it will take several layers to make good customization of glittering.
- Mix the glue and glitter with the proper ratio. The glitter amount should be more than glue.
Bling
The Bling method is another excellent way to make your shoe shiny and sparkling. But to complete this method requires a lot of patience.
Necessary Materials:
- Crystal (Small and Medium Size)
- Glue (Recommended : E6000)
- Picker Tool
- Syringe (30 ML, without needle )
- Metal Tip
Procedure:
- Take the syringe and fill it with glue. Take the dispensing tips on one side and the sliding plunger on the other. Keep the syringe facing the tips upward for a few minutes so that the air bubbles move towards the top.
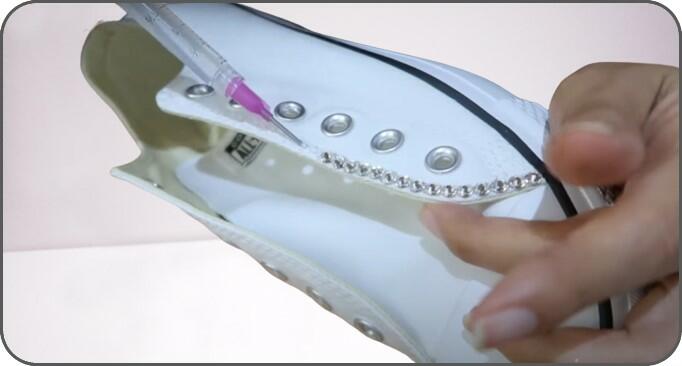
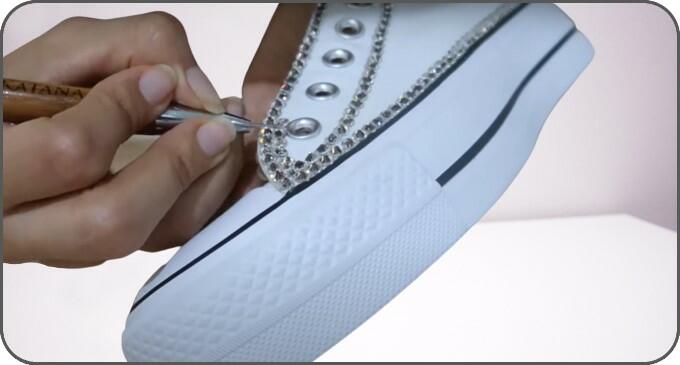
Adding and placing crystals on Vans shoe
- Now, it’s time to place the crystals on the shoe. Add some glue to the shoe edges with the syringe. First, place the bigger crystals to the edges with the picker tool. Using the metal tip, fix the attached crystals in aligned order.
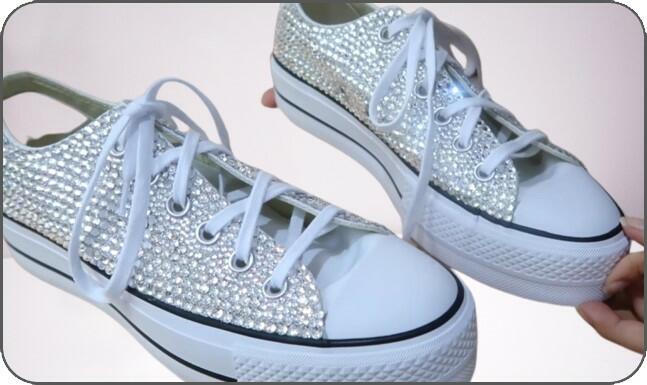
- After the first round, make another round of crystals. Use small crystals where there is no room for bigger ones. In this manner, complete row after row until the whole body is covered.
Precaution :
- Use smaller crystals around the eyelets area.
- The beauty of the shoe will be mostly based on the design, size, and placement of the crystals. So choose crystals wisely and place them row by row with proper alignment.
I hope these five effective methods will provide your vans with a different and unique look. So what are you waiting for? Just grab one and dive to get a pair of vans that only belongs to you in the entire world!
